User Provisioning with Entra-ID
Creating a SCIM Provisioning application in Microsoft Entra-ID is a straightforward process that significantly enhances the management of user identities in cloud-based applications. In this article, we'll guide you through the steps to set up a SCIM Provisioning application for Spreadly.
Step 1: Create an Enterprise Application
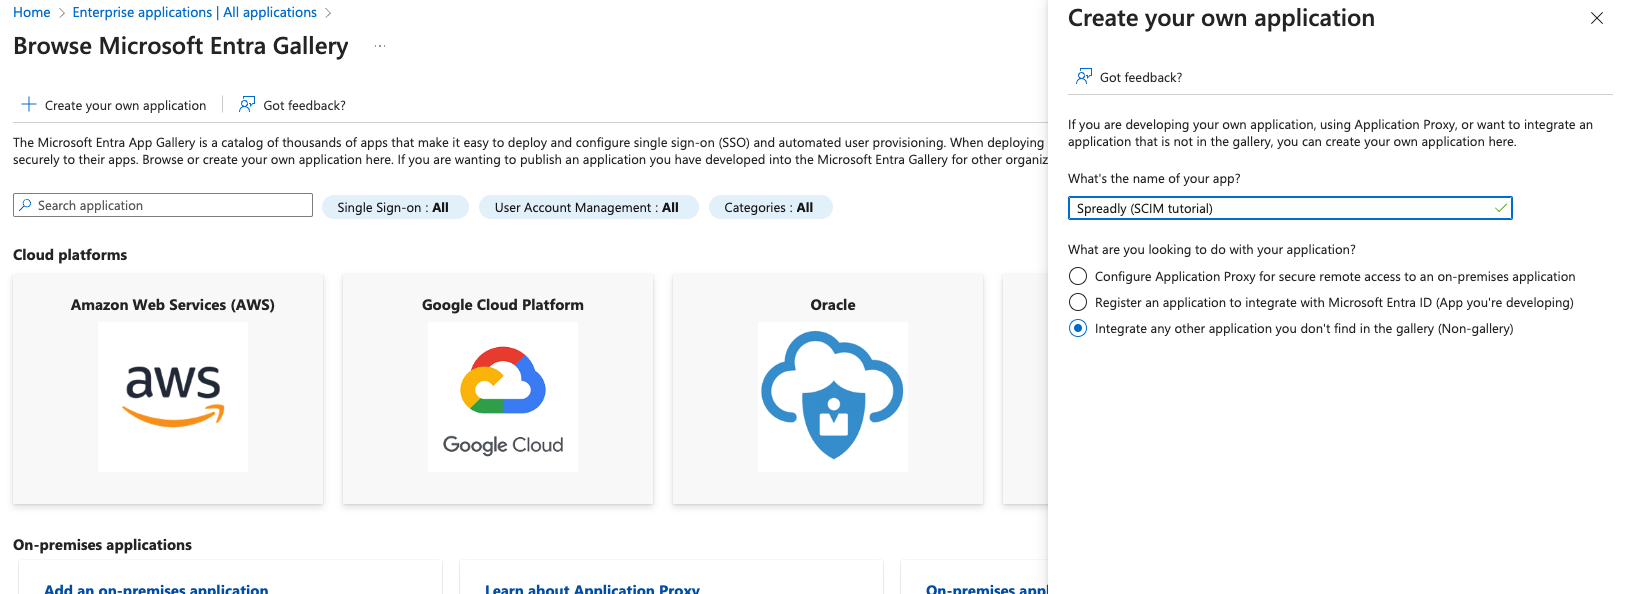
First, navigate to the Applications section in Entra-ID, and select Enterprise applications. Here, click on + New application and then choose + Create your own application. Name your application "Spreadly" and select the "Non-gallery" option. This step initiates the process of integrating your custom application with Microsoft's identity management solution.
Step 2: Obtain SCIM Secret Token from Spreadly
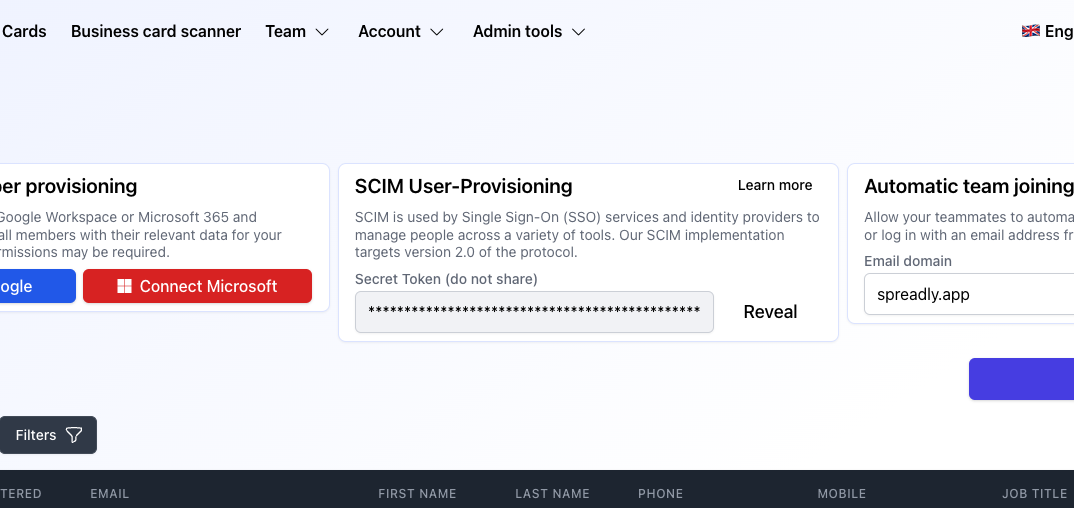
Access the "Team > Members > HR Integrations > SCIM synchronization" section in Spreadly to find your SCIM Secret Token. This token is essential for secure communication between Spreadly and Microsoft Entra-ID. Copy this token as you'll need it in the next steps.
Step 3: Set Up Provisioning
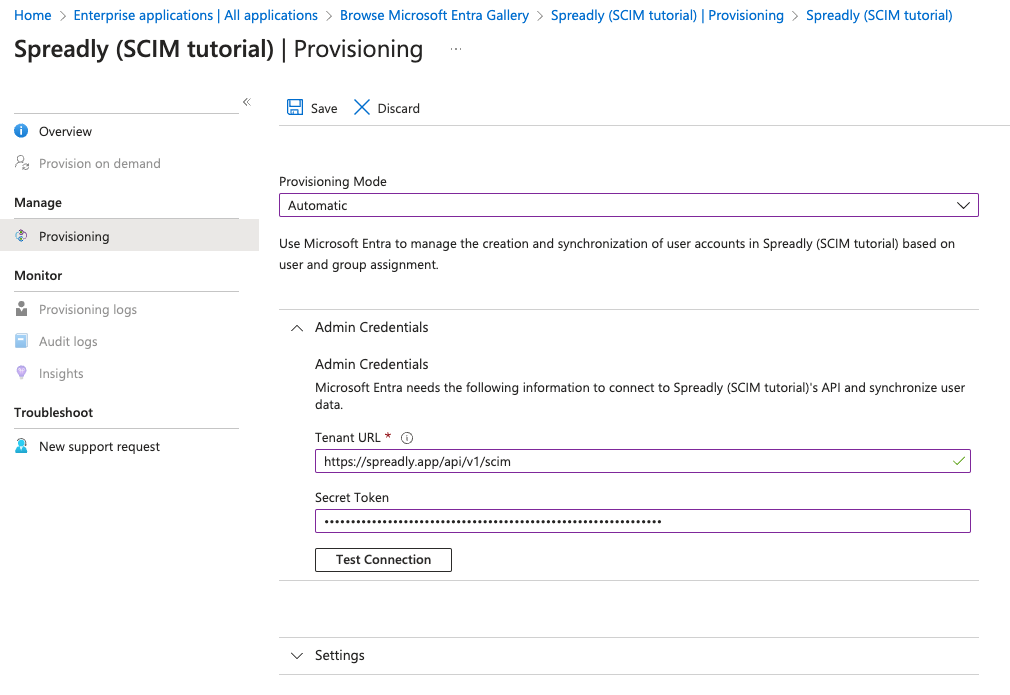
Now, open the newly created enterprise application in Entra-ID and go to Provisioning > Manage: Provisioning. Set the Provision Mode to "Automatic". Input the Tenant URL as https://spreadly.app/api/v1/scim and enter the Secret Token you previously copied from Spreadly. To ensure the setup is correct, click on "Test connection", then save your settings.
Step 4: Edit Mappings
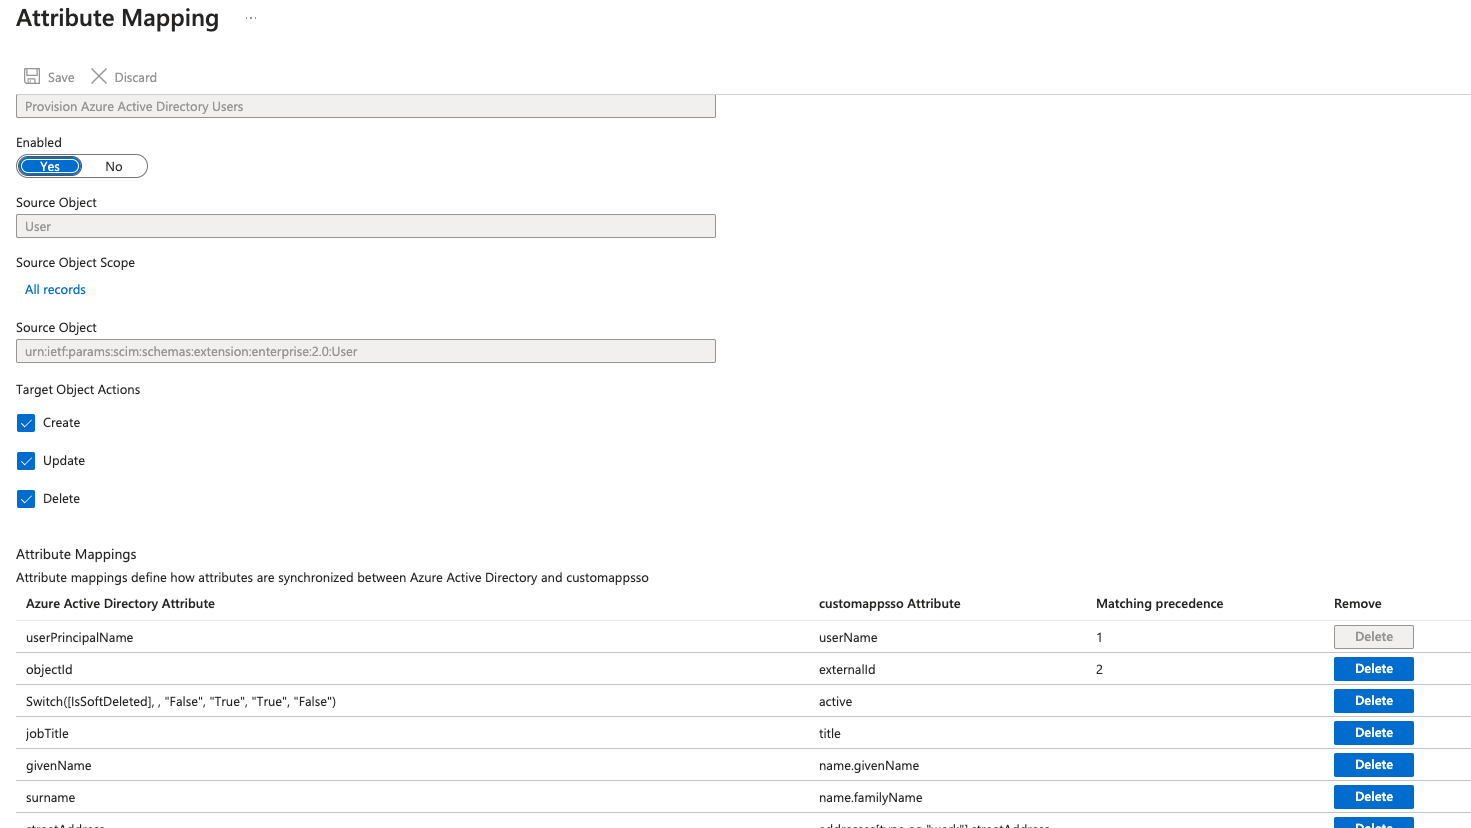
In this step, you'll configure how attributes of Users and Groups in Microsoft Entra-ID correspond to those in Spreadly.
User Mappings
objectId and userPrincipalName must be set up with the correct matching precedence.Azure Active Directory Attribute | customappsso Attribute | Matching precedence |
|---|---|---|
objectId | externalId | 1 |
userPrincipalName | userName | 2 |
givenName | name.givenName |
|
surname | name.familyName |
|
telephoneNumber | phoneNumbers[type eq "work"].value |
|
mobile | phoneNumbers[type eq "mobile"].value |
|
jobTitle | title |
|
department | urn:ietf:params:scim:schemas:extension:enterprise:2.0:User:department |
|
employeeOrgData.division | urn:ietf:params:scim:schemas:extension:enterprise:2.0:User:division |
|
companyName | urn:ietf:params:scim:schemas:extension:enterprise:2.0:User:organization |
|
streetAddress | addresses[type eq "work"][streetAddress] |
|
city | addresses[type eq "work"][city] |
|
postalCode | addresses[type eq "work"][postalCode] |
|
state | addresses[type eq "work"][region] |
|
country | addresses[type eq "work"][country] |
|
See https://help.spreadly.app/en/article/user-provisioning-with-scim-20-10h4w3d/#2-user-attributes for the full list of supported SCIM attributes for users.
Group Mappings
Azure Active Directory Attribute | customappsso Attribute | Matching precedence |
|---|---|---|
objectId | externalId | 1 |
displayName | displayName |
|
description | spreadly:scim:Group:description |
|
members | members |
|
See https://help.spreadly.app/en/article/user-provisioning-with-scim-20-10h4w3d/#2-group-attributes for the full list of supported SCIM attributes for groups.
Step 5: Test the Mapping
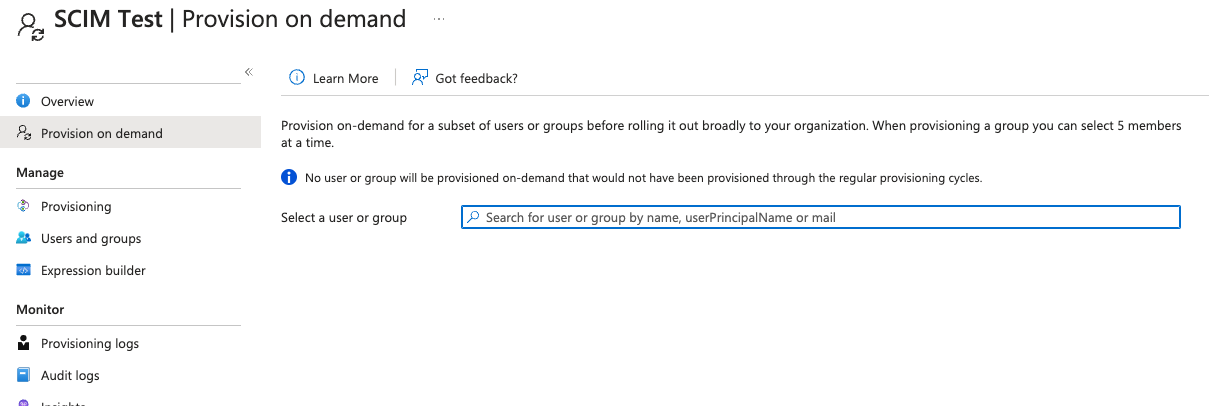
To verify that your mappings are correct, use the "Provision on demand" feature. Select a user or group to test the mapping. This step is crucial to ensure that the data flows correctly between Microsoft Entra-ID and Spreadly.
Step 6: Select Users/Groups for Provisioning
Finally, manage who will be provisioned by visiting "Manage: Users and groups" in your enterprise application. Here, select the users and groups you expect to be provisioned. This step determines which identities from Microsoft Entra-ID will be managed in Spreadly.
Step 7: Configure Single Sign-On (optional)
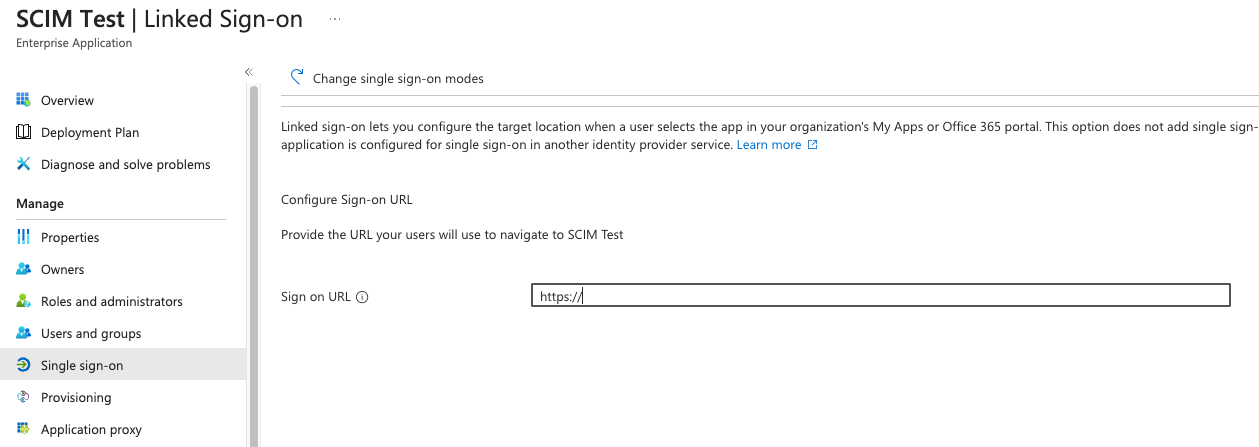
Finally, set up the Single Sign-On (SSO) feature for a seamless user experience. Under "Manage: Single sign-on," copy the Sign on URL from Spreadly's "Team > Settings." Additionally, upload the Spreadly application logo ( download here). For a cleaner user interface, make the default Spreadly App (Application ID: f6f257df-7ac4-4e92-886c-4768649ca097) invisible to users.
Updated on: 27/02/2026
Thank you!